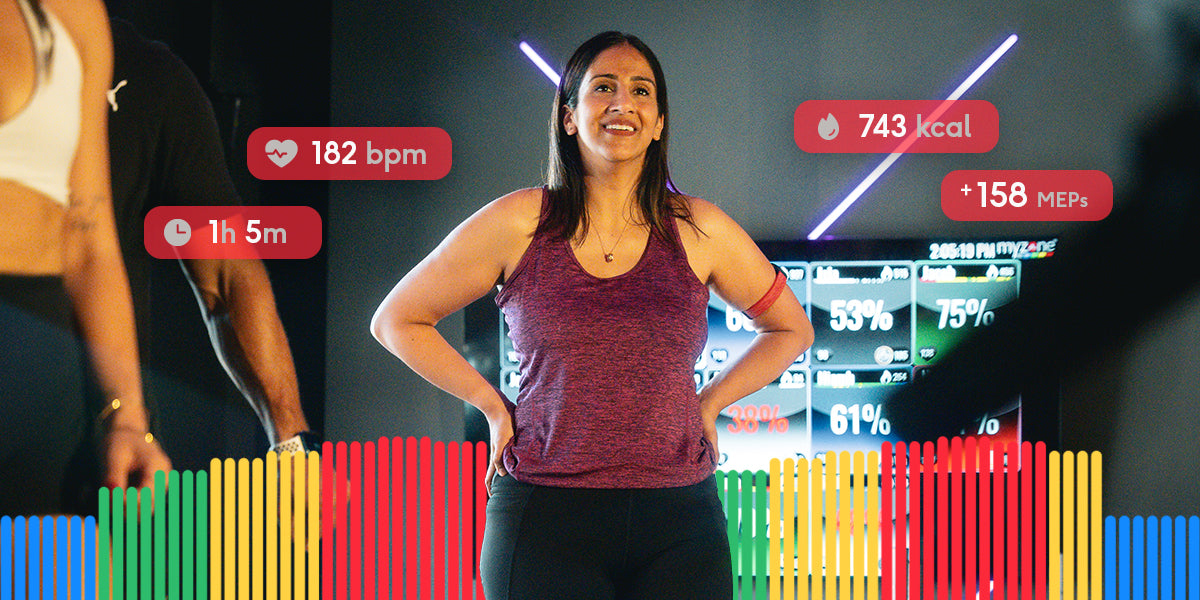
High-Intensity Interval Training (HIIT) has earned its global reputation as a highly efficient way to torch calories, spike metabolism, and skyrocket cardiovascular fitness, as shown in this Sports Medicine systematic review and meta-analysis. But if you think a HIIT workout just means moving as fast as possible until you collapse, you are missing out on the true physiological driver behind the training: the work-to-rest ratio.
How long you push yourself—and critically, how long you allow your body to recover—dictates exactly what energy systems you are targeting. By pairing these ratios with wearable tech like a Myzone heart rate monitor, you can transform random exhaustion into a precision-engineered workout.
Let's break down the science behind work-to-rest ratios and look at how to use them to crush your personal goals.
What is a Work-to-Rest Ratio?
A work-to-rest ratio is a simple mathematical expression comparing the duration of your high-intensity exercise interval against the duration of your recovery period.
The first number represents the length of your maximum effort (the work).
The second number represents the length of your lower-intensity recovery (the rest).
For instance, if you sprint all-out for 30 seconds and walk for 60 seconds to catch your breath, your work-to-rest ratio is 30:60, which simplifies down to a 1:2 ratio.
The Big Three HIIT Ratios
Depending on your goals—whether it’s building raw speed, burning fat, or increasing endurance—you should deploy one of these three structures.
1. The 1:3 or 1:2 Ratio (The Speed and Power Builder)
If your goal is to optimize explosive strength, vertical jump power, and athletic agility, a wider ratio with plenty of recovery is essential. A study published in the Journal of Strength and Conditioning Research shows that using specific work-to-rest intervals directly impacts localized power adaptations.
- The Physiology: This protocol targets your anaerobic energy pathways. Your body requires significant rest to clear metabolic byproducts and fully regenerate ATP before the next burst.
- The Myzone Target: Your work intervals should push you into the Myzone Red Zone (90%+ HRmax). Your rest periods must be long enough to let your heart rate drop back down into the Green (70-79%) or Blue Zone (60-69%).
2. The 1:1 Ratio (The Aerobic & Anaerobic Hybrid)
The 1:1 format is the sweet spot for athletic conditioning, offering equal parts work and recovery. Research in the Journal of Strength and Conditioning Research demonstrates that shorter 1:1 blocks can elicit identical aerobic and anaerobic adaptations to longer configurations, while causing far less perceived muscle exhaustion.
- The Physiology: Because the rest period is equal to the work, your body only partially recovers between sets. This forces your system to build rapid tolerance to lactic acid. Additionally, an IJERPH study on cycling power highlights how subtle changes in these structures drastically alter metabolic stress and power output.
- The Myzone Target: Sustained efforts will keep you firmly planted in the Yellow Zone (80-89% HRmax) during work, dipping briefly to the high Green during recovery.
3. The 2:1 or 3:1 Ratio (The Endurance Burner)
Shifting to a structure where your work outlasts your rest is designed to push your aerobic engine to the absolute limit. This was supported by a 2024 study in the Journal of Exercise Science & Fitness, which analyzed the physiological demands of compressed recovery periods.
- The Physiology: Your rest intervals are intentionally too short to allow for full cardiovascular recovery. Your heart rate remains elevated throughout the circuit.
- The Myzone Target: Once you enter the Yellow and Red Zones, you will likely stay there for the entire duration of the block.
How to Build Your First HIIT Workout
- Establish an Aerobic Warmup (5-10 mins): Gradually elevate your core temperature. Use your tracker to ensure you are cruising through the Myzone Grey and Blue Zones.
- Execute Your Ratio (10-20 mins): Choose a ratio that aligns with your goals. If you are a beginner, start with a conservative 1:2 or 1:3 approach. Execute 6 to 10 total intervals.
- Gradual Cooldown (5 mins): Never stop moving abruptly. Keep walking or spinning gently to help flush blood out of your working extremities.
Tracking Your Heart Rate Recovery
The ultimate proof that your HIIT training is working comes from Heart Rate Recovery (HRR). This measures how quickly your heart rate drops in the first one to two minutes after physical exertion.
By tracking your Myzone data over a four-to-six-week block, you should see your heart rate drop significantly further during your designated rest intervals. If your heart rate isn't dropping out of the Red or Yellow zones during a 1:2 rest period, it’s a sign to extend your recovery or slightly lower your work velocity. Listen to your data, trust the ratios, and watch your fitness climb!