Discover What Each Heart Rate Zone Means, How It Feels, and How to Use Myzone Colours to Build Smarter Workouts
Open any fitness app or gym console and you will likely see references to heart rate zone, colourful bands, percentage ranges, or labels such as "fat-burning", "cardio", and "peak".
If you use Myzone, those same ideas show up as red, yellow, green, blue, and grey tiles every time you move. But what do these zones actually mean, and how should you use them in your training rather than just glancing at them and hoping for the best?
What Heart Rate Zones Are (and Why They Matter)
Heart rate zones are simply ranges of beats per minute that reflect how hard your heart is working relative to its maximum. Instead of treating every workout as just "easy" or "hard", zones give you a nuanced scale so you can match effort to your goals.
Different organisations slice the ranges in slightly different ways, but the core concept remains the same: lower zones represent lighter intensity work you can sustain for a long time, while higher zones correspond to shorter, more demanding efforts.
Because a normal heart rate by age and your personal baseline can influence how these intensities feel, it helps to establish context. Reviewing a resting heart rate chart and tracking your own morning readings for a week gives you a realistic starting point to compare against your training zones over time. Most modern systems, including clear, doctor-reviewed summaries like the Cleveland Clinic's detailed explainer and Harvard Health's zones guide, define five main zones:
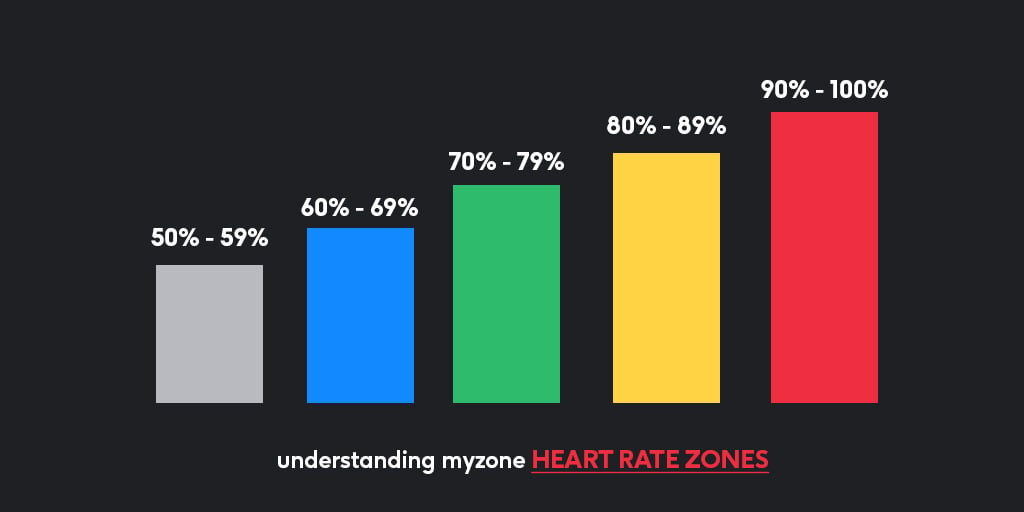
- Zone 1: Gentle movement such as slow walking or mobility work. You could easily sing along to music, and your breathing feels relaxed.
- Zone 2: Slightly more purposeful exercise like brisk walking, light cycling, or an easy jog. You can still talk in sentences. This is a powerful zone for building endurance and supporting metabolic health.
- Zones 3 & 4: Traditional "cardio." These mid-level zones are challenging but sustainable for several minutes at a time. Your breathing is heavier, and conversations become shorter.
- Zone 5: Maximal efforts. This highest zone is where sprints, hill repeats, or tough class intervals live, which you can only maintain briefly.
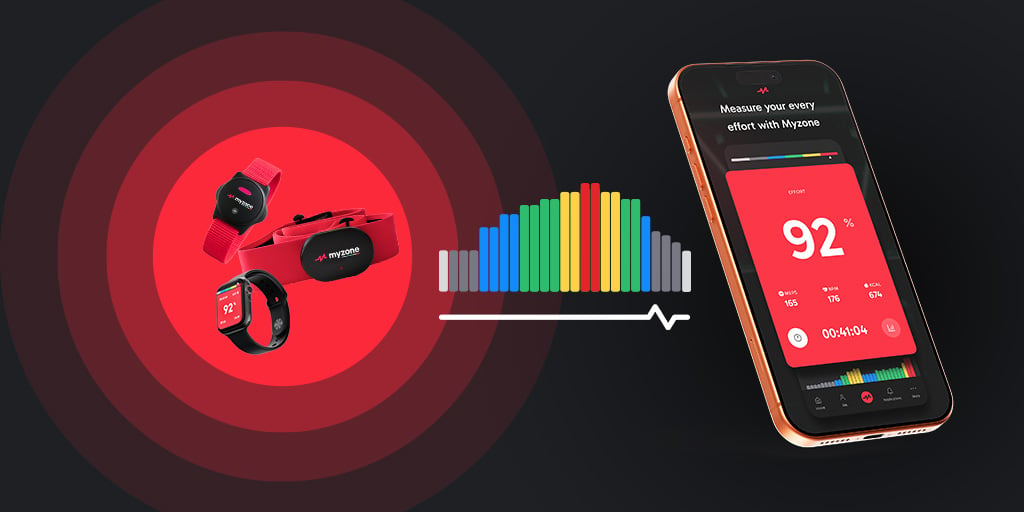
The Myzone Advantage: Myzone takes these ideas and turns them into an easy-to-read colour system anchored to your personalised maximum heart rate. Instead of doing mental maths, you see your tile change colours. Because these colours are based on your own max, two people can work at the same relative intensity even if their actual heart rates are very different.
How heart rate zones map to real-world goals
Understanding the framework is the first step in moving from random workouts to intentional training. The answer to how to use them depends on what you are training for and how many days per week you can realistically move.
General Health and Longevity
Most organisations emphasise spending plenty of time in lower to moderate zones. The American Heart Association's fitness overview highlights the benefits of accumulating at least 150 minutes of moderate-intensity aerobic activity each week (or 75 minutes of vigorous activity). In heart rate terms, that usually means regular sessions in the blue and green zones, with optional yellow blocks if your doctor has cleared you for higher-intensity work.
Fat loss or body composition change
It is tempting to fixate on charts that label a certain zone as the "fat-burning" range. In reality, what matters most is total energy expenditure and consistency. Lower zones rely heavily on fat as fuel but burn fewer calories per minute. Higher zones draw on carbohydrates, feel harder, but are very time-efficient. A sustainable plan blends both: steady, enjoyable lower-zone workouts, plus a couple of sessions pushing into yellow or red. Harvard Health's zones article is a great myth-buster on this topic.
Endurance goals
Endurance goals (5Ks, half marathons, long bike rides) rely heavily on time spent in the lower and middle zones to build an aerobic "engine." Coaches often prescribe a high volume of blue and green-zone training, with carefully controlled yellow and red intervals layered on top, as outlined in the Cleveland Clinic's detailed zones explainer.
The Myzone Context Explained
| Myzone Colour | Intensity Level | Zone Role |
| Grey & Blue | Very Light / Light | Easy and recovery zones |
| Green | Moderate | Steady training zone |
| Yellow | Hard | Working hard but sustainable for a few minutes |
| Red | Very Hard | Near-maximal efforts (brief intervals) |
A typical balanced week for a healthy adult might include:
- Two or three green-focused sessions (brisk walks, light jogs, cycles, or classes).
- One interval-style workout visiting yellow and perhaps touching red briefly.
- Plenty of incidental movement in the lower zones.
Safe, effective training in each Myzone colour zone
With the concepts in place, the final step is turning heart rate zones into a practical habit. Wearable technology removes guesswork and keeps you honest.
-
Set Your Baseline
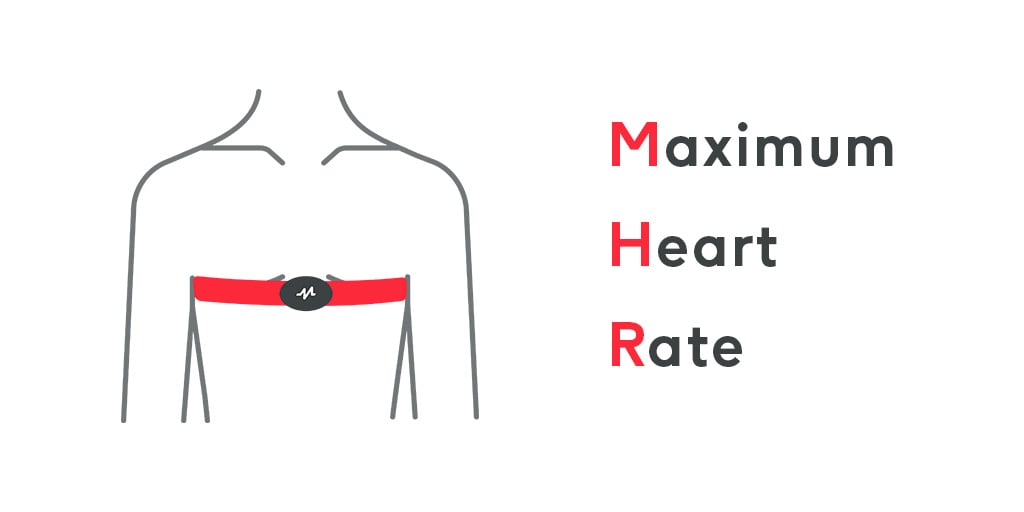
Check that your maximum heart rate (MHR) is set appropriately. Myzone estimates MHR using the HUNT formula ($211 - 0.64 \times \text{age}$), as outlined in its max heart rate guide. Over time, the platform can adjust your MHR automatically if you safely sustain higher heart rates.
-
Design a Simple Weekly Plan
If you have three days available, try this structure:
-
- Day 1 (Green): Continuous 30–40 minutes where your tile lives mostly in green with an occasional dip into yellow.
- Day 2 (Intervals): Blocks of yellow effort with blue-green recovery, never camping in red for long.
-
Day 3 (Recovery): Gentle blue and grey movement for active recover
-
Use Your Tile as a Live Dashboard
During workouts, let the colours guide you. If you planned an easy day but keep drifting into yellow and red, consciously slow down. On harder days, use the colours to nudge yourself upwards, always focusing on good form. Myzone's heart rate training benefits article explains how this feedback makes sessions more efficient.
-
Review and Adjust
After each week, review your effort history using resources like Harvard Health's exercise and fitness hub. Did your time in each zone match your plan? Track your resting heart rate over several mornings; meaningful shifts can signal when to back off or when your aerobic base is improving.
Note: Health history matters. If you have heart disease, high blood pressure, diabetes, or take medications that affect heart rate, talk to your doctor before using zones to guide harder training.

Frequently Asked Questions
What exactly are heart rate zones, and why should I use them instead of just thinking “easy” or “hard”?
Heart rate zones are ranges of beats per minute relative to your personal maximum heart rate that indicate how hard you’re working. Using zones gives you a nuanced scale of effort so you can match intensity to your goals, endurance, health, fat loss, or performance, instead of guessing. Lower zones reflect easy, longer-duration work; middle zones are steady but challenging “cardio”; the highest zone is for short, near-maximal efforts. Systems like Myzone translate this into colour-coded tiles, helping you plan intentional training.
What do the Myzone colours mean in practice, and how should each zone feel?
Myzone maps effort to colours anchored to your personal max heart rate.
- Grey/Blue: Very light to light intensity (gentle movement, relaxed breathing, easily talking or singing).
- Green: Moderate, steady work (sustainable while speaking in shorter sentences).
- Yellow: Hard but manageable for a few minutes (heavier breathing, limited conversation).
- Red: Very hard, near-maximal efforts for brief intervals (sprints/steep hills).
How do I set or verify my maximum heart rate (MHR) in Myzone, and why does it matter?
Myzone estimates your MHR using the HUNT formula ($211 - 0.64 \times \text{age}$) and can automatically adjust it upward over time if you safely sustain higher heart rates. Getting MHR right matters because every zone is calculated from that ceiling.
Which zones should I focus on for general health, fat loss, or endurance?
- General Health: Prioritise lower to moderate zones (blue and green) for about 150 minutes per week.
- Fat Loss: Blend frequent, lower-intensity sessions (which use more fat as fuel) with 1 to 2 time-efficient workouts that touch yellow/red to keep fitness progressing.
- Endurance: Spend most of your time in blue/green to build your aerobic engine, layering in controlled yellow and occasional red intervals.
How can I structure a simple week with zones, and how do I adjust during/after workouts?
With three days, try one green-focused session, one interval day (yellow blocks with blue-green recovery), and one low-intensity day (grey/blue). Use your Myzone tile as a live dashboard to speed up or slow down as needed. Afterward, review your time spent in each zone and track your morning resting heart rate to ensure you are recovering well and making progress.